You’re probably already familiar with some of the many services that block ads on your computer and other devices. But with the Raspberry Pi, you have the ability to do something a little more drastic: block ads at the router level. That means no ads on your computer, of course, but also no ads on your smartphone, tablet, or any other device on your network.
Sounds great, right? Here’s how to do it.
How to use your Raspberry Pi as a network-wide ad blocker
To block ads at the router level, we’ll use Pi-hole, a server program. We’ll install it on Raspbian, so start by installing Rasbian and updating it (sudo apt-get update && sudo apt-get upgrade) if you haven’t yet.
Step 1: Launch the Pi-hole installation wizard
Hop into the Terminal and enter this command:
curl -sSL https://install.pi-hole.net | bash
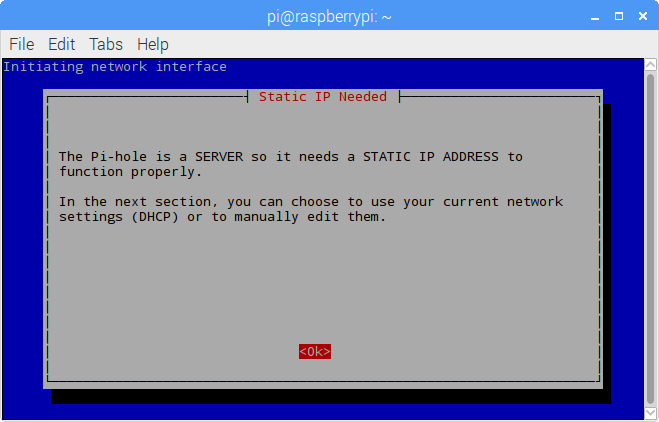
This will bring up the installation wizard. The installation wizard is going to tell you that since Pi-hole is a server, it needs a static IP address. It will say this in ALL CAPS to EMPHASIZE IT. Okay, okay, we’re listening.
Step 2: Choose an interface and configure your static IP settings
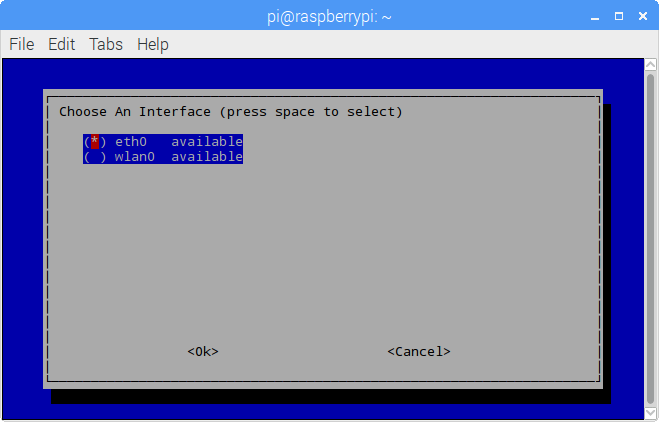
Go ahead and hit okay to get the installation wizard to stop yelling at you, and then choose between Wi-Fi and Ethernet. Either will work.
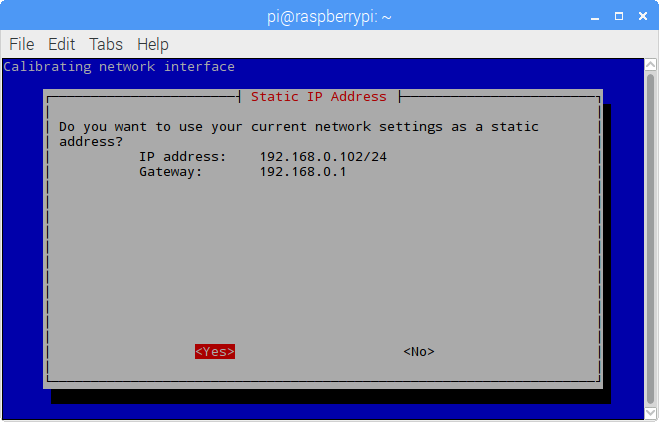
Once you’ve chosen, the installation wizard will ask you if you want to “use your current network settings as a static IP address.” You can go ahead and do so, okaying the default settings on the next couple of screens, unless you’re moved to do otherwise for some reason.
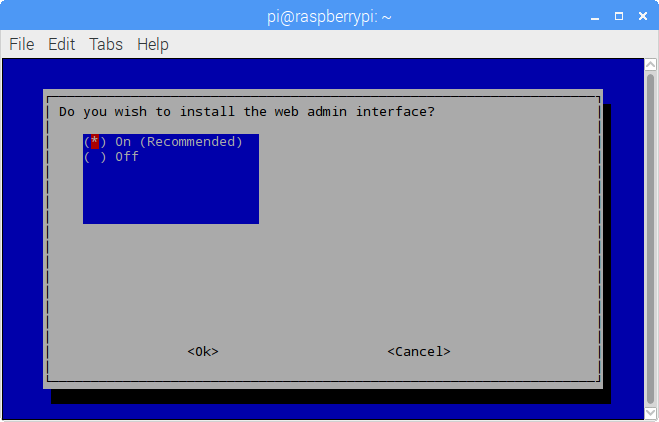

Once you’ve <Ok>’d the installation wizard into submission, it will dutifully install the packages and let you know when it’s complete.
Step 3: Write down your Raspberry Pi’s IPv4 address
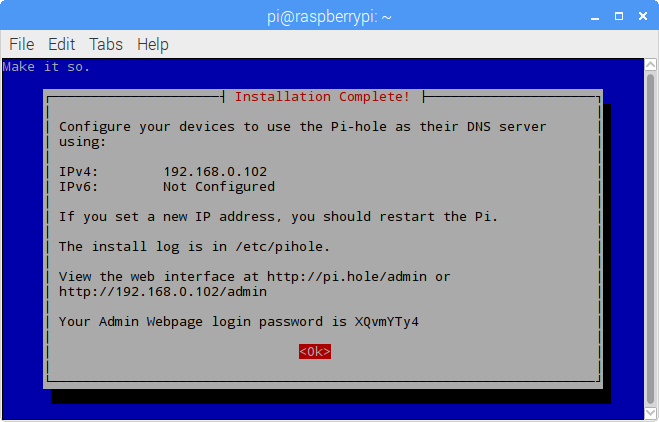
When the installation wizard wraps up, you’ll get a dialogue box titled “Installation Complete!” In that box will be your Pi’s IPv4 address. Write that down along with your password, because you’re gonna need them.
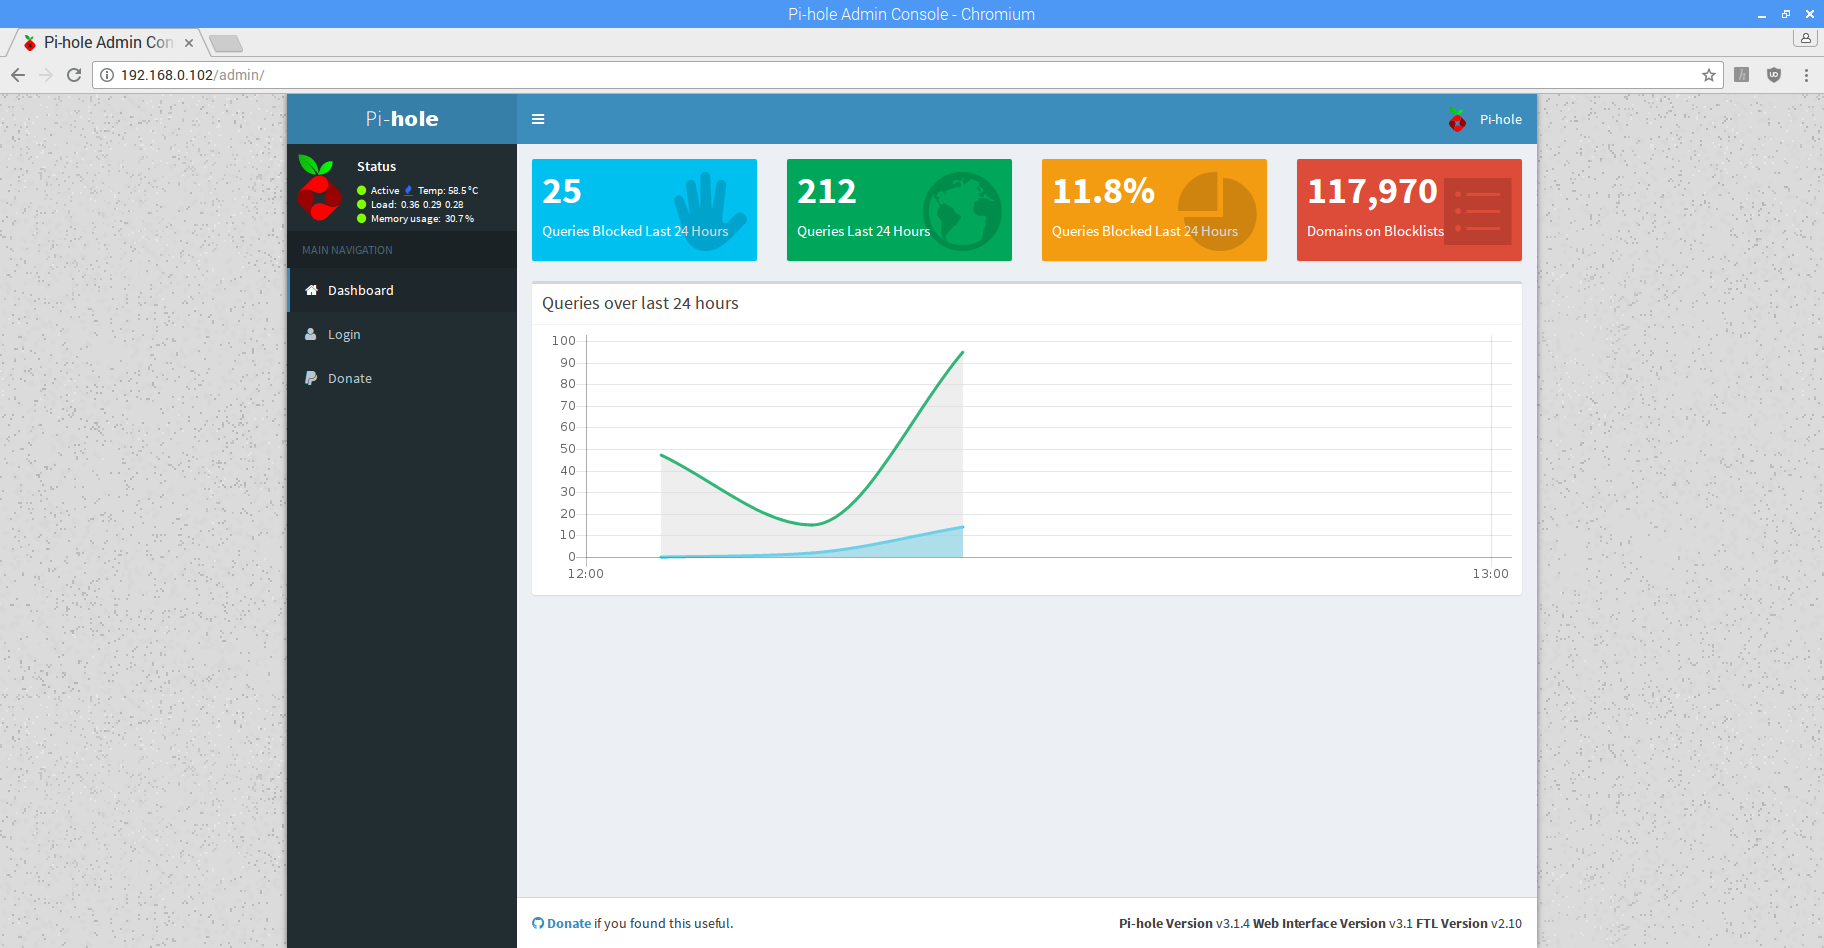
This is also a good time to visit the admin interface and admire your handiwork.
Step 4: Change your server’s DNS settings
Now everything that runs through your Pi-hole server will have ads blocked – hooray! Only, uh, nothing is running through it yet. Let’s change that and force your device traffic through the server.
This part will be different depending on your operating system:
Windows
- Right-click the Start button and select Network Connections
- Right-click your Ethernet or Wi-Fi network and select Properties
- Double-click Internet Protocol Version 4 (TCP/IPv4)
- Click Use the following DNS server addresses.
- Enter your Raspberry Pi’s IP address as the Preferred DNS server.
- Click OK and then, once again, OK
OS X
- Click the Apple menu and navigate to System Preferences…>Network>[your network]>Advanced…>DNS
- Click the plus sign on the left side and enter your Raspberry Pi’s IP address
- Click OK and then Apply
Android
- Navigate to Settings>Wi-Fi
- Press and hold your current network and then navigate to Modify Network>Show Advanced Options
- Change the IP Settings to Static
- Enter your Raspberry Pi’s IP address under DNS 1
- Tap Save
iOS
- Navigate to Settings>Wi-Fi>[your network]>DNS
- Enter your Raspberry Pi’s IP address.
Once you’ve done this, you shouldn’t see ads anymore.
Step 5: Would you like to whitelist some sites? (optional)
Alright, all set! You are now successfully blocking all ads at the router level.
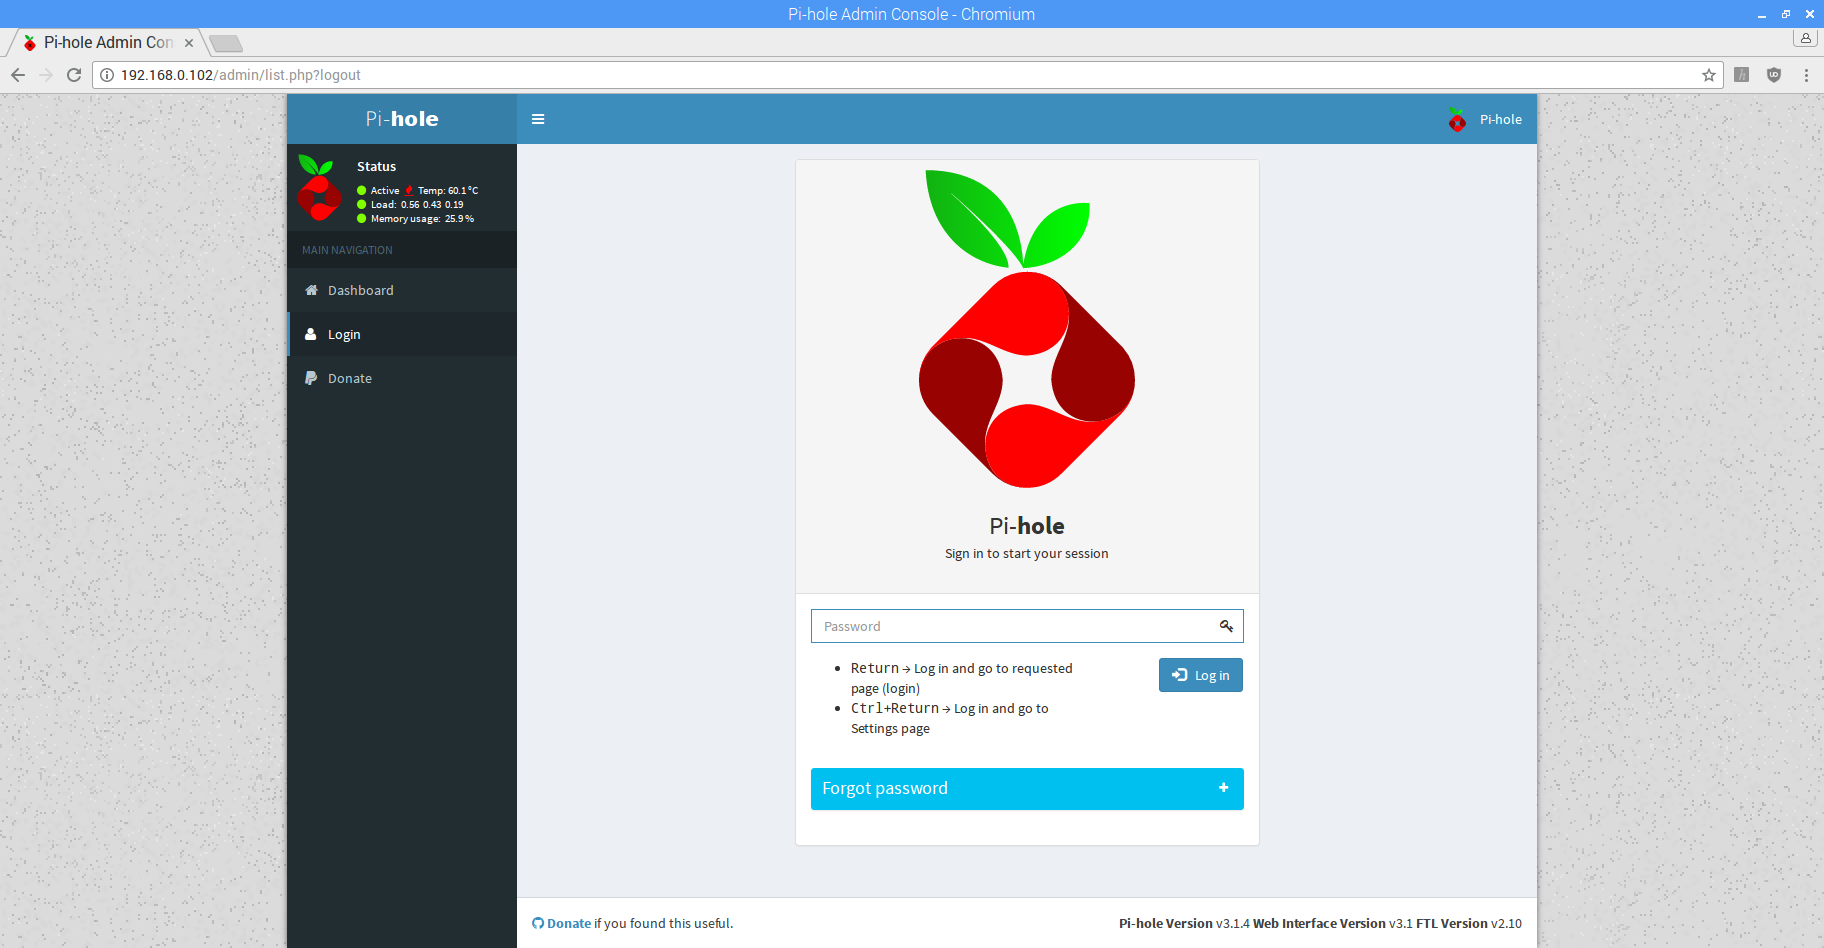
To whitelist sites, head to the Pi-hole interface in your browser as we did back in Step 3 – though this time you will need to log in to the interface using the password that Pi-hole provided.
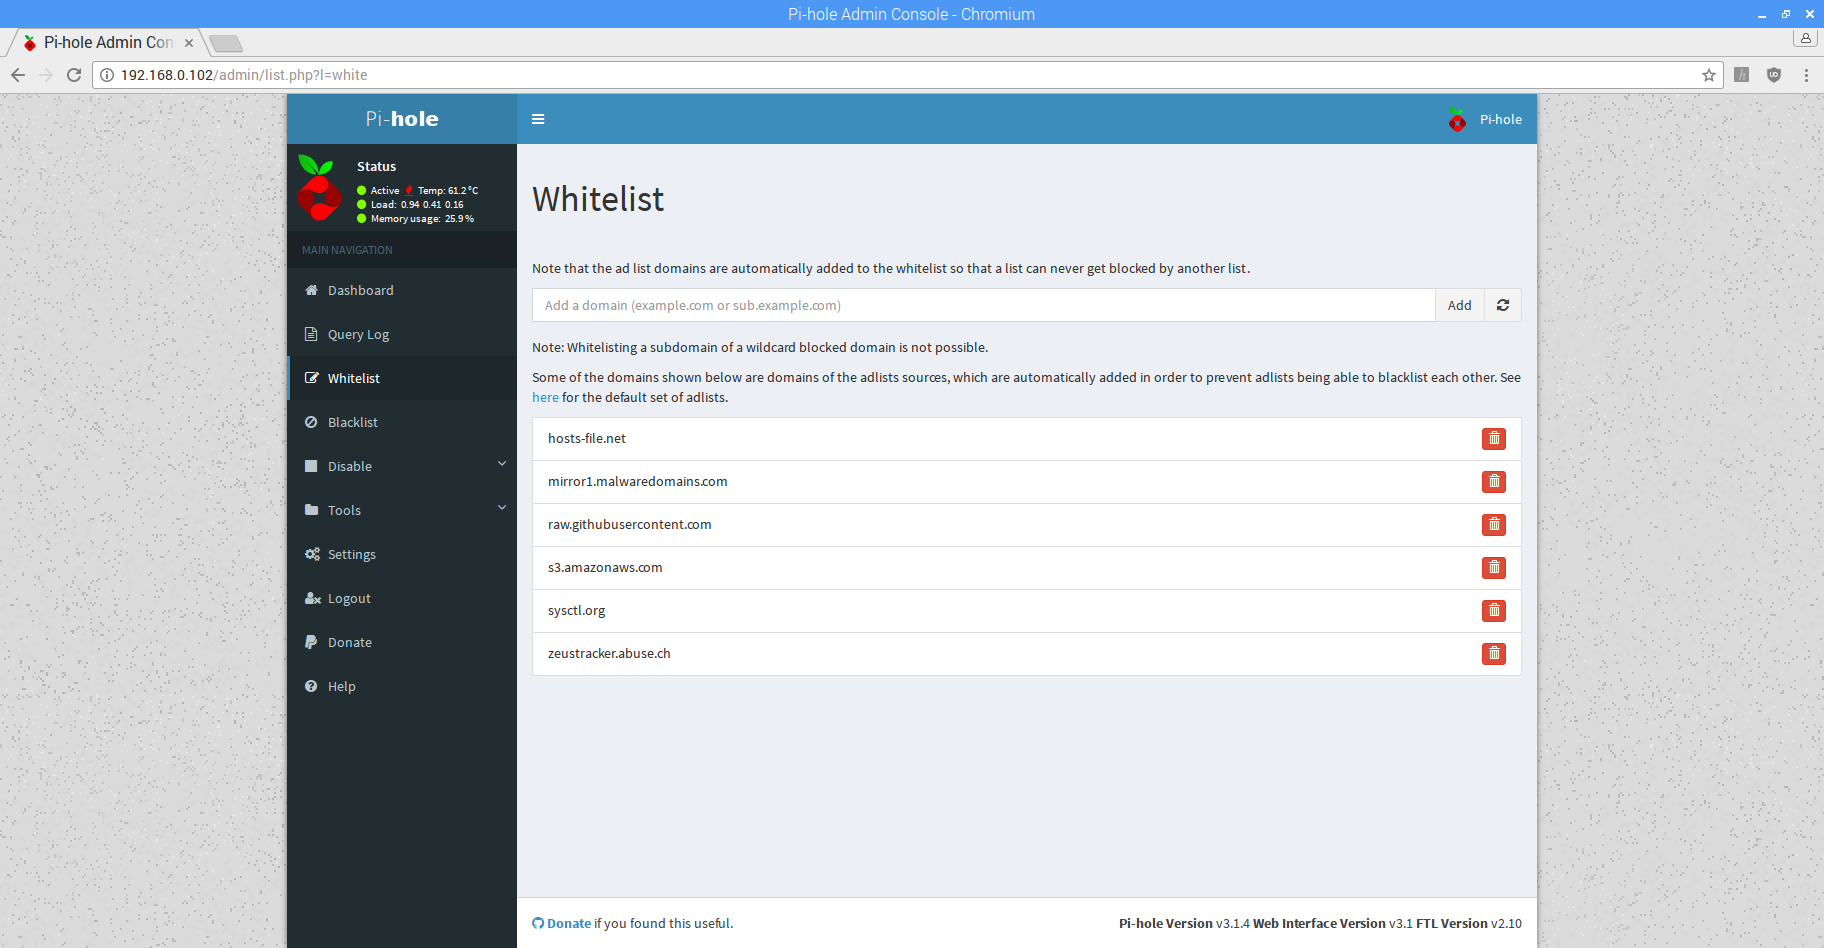
Click Whitelist and add sites that you want to whitelist.


Be the first to comment on "How to use your Raspberry Pi as a network-wide ad blocker"