The RetroPie classic gaming system is one of the most popular Raspberry Pi projects around, and for good reason. The RetroPie can play any game from a huge variety of classic systems, and it also supports other programs – including Kodi, one of our favorite media center applications. In this post, we’re going to show you how to install Kodi on RetroPie.
You don’t need to have RetroPie to install Kodi, of course – in the past, we’ve shown you how to make your Raspberry Pi boot directly to Kodi. But if you want more than just Kodi on your device and love games, it pays to know how to install Kodi on RetroPie.
How to install Kodi on RetroPie
It’s very easy to set up Kodi on RetroPie, because the entire process will take place in RetroPie’s menu system. All you’ll need to get this done is a Raspberry Pi running RetroPie and connected to the internet. It’s pretty easy to see how to install Kodi on RetroPie, but we’ll make it even easier by laying out the steps one by one below.
Step 1: Navigate to the RetroPie menu on your RetroPie
Head over to the RetroPie’s main menu. You can get there through the same horizontal menu that all of your emulators are listed on. Just look for the RetroPie logo with the big red joystick on it.
Step 2: Navigate to RETROPIE SETUP
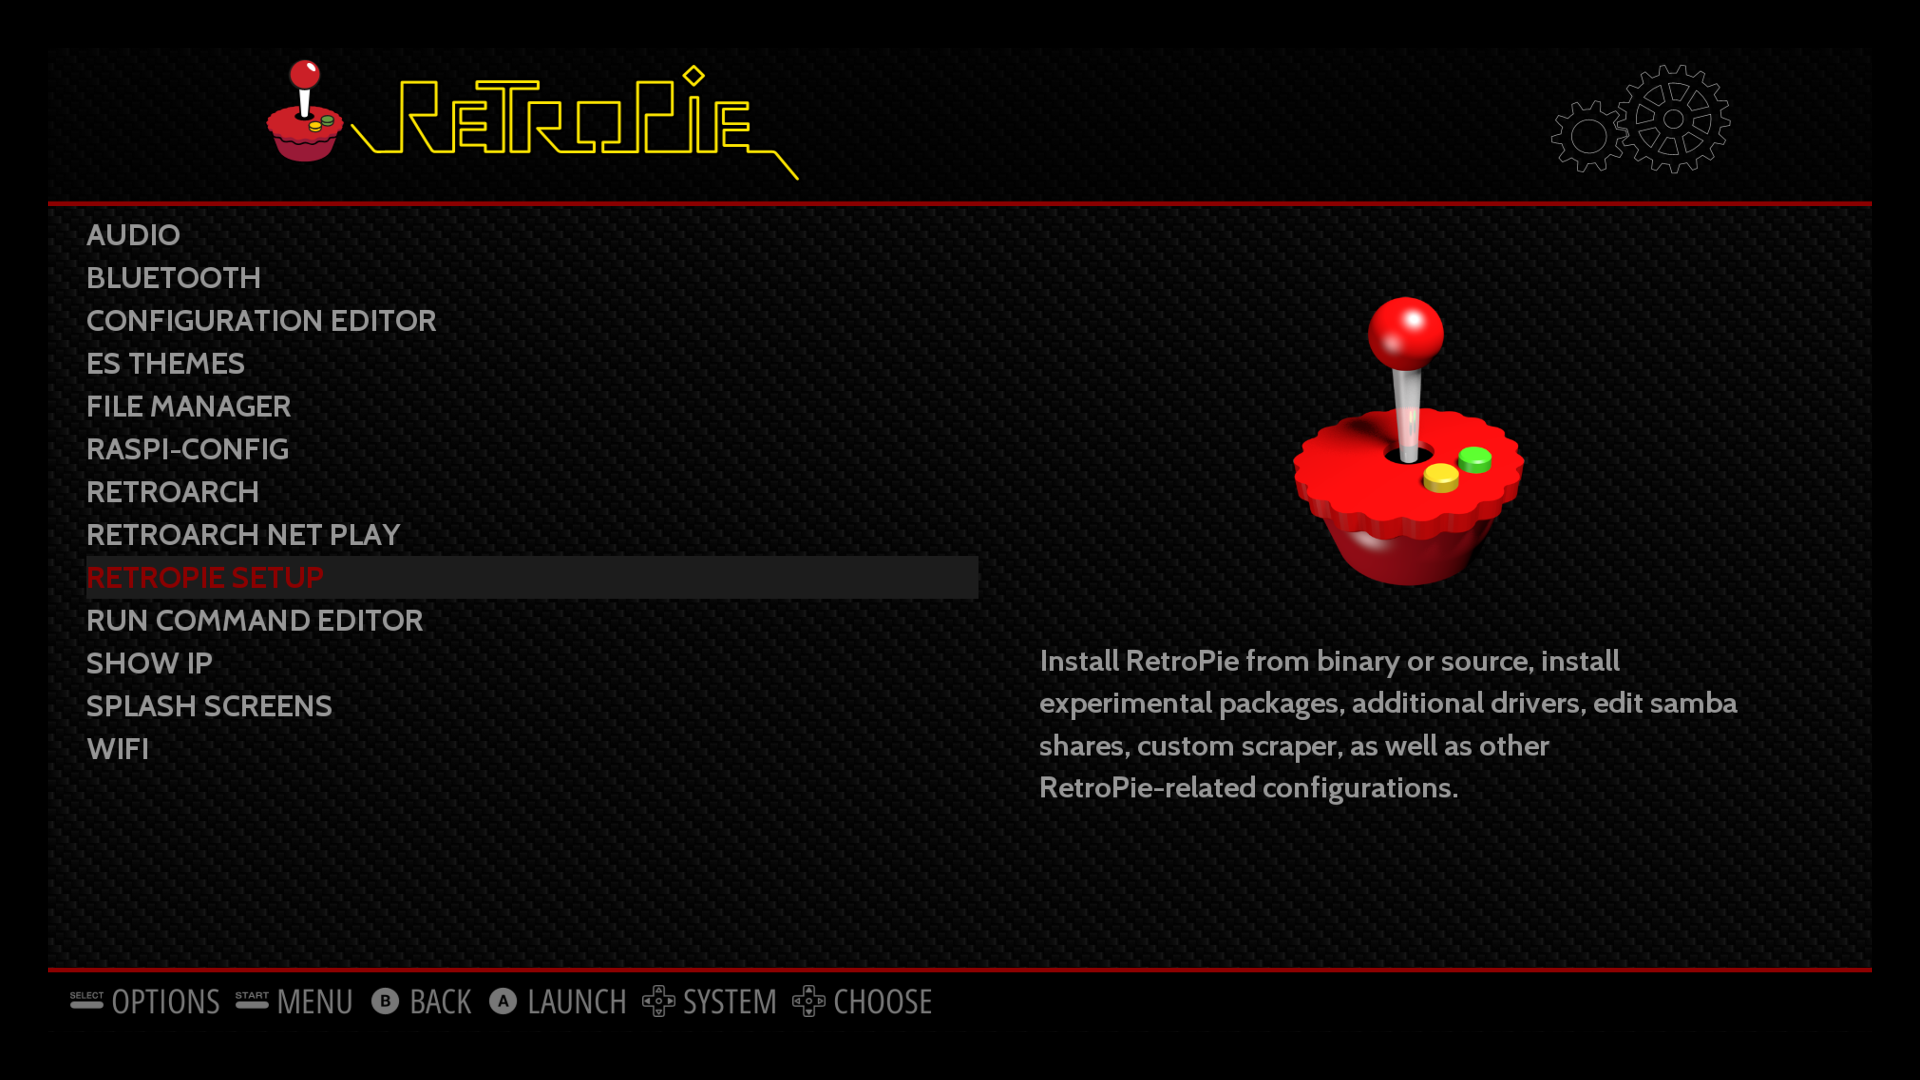
Once you’re in the main menu, scroll down to the “RETROPIE SETUP” option on the menu. You’ll get a gray box on a blue screen with a few different setup options.
Step 3: Select “Manage packages”
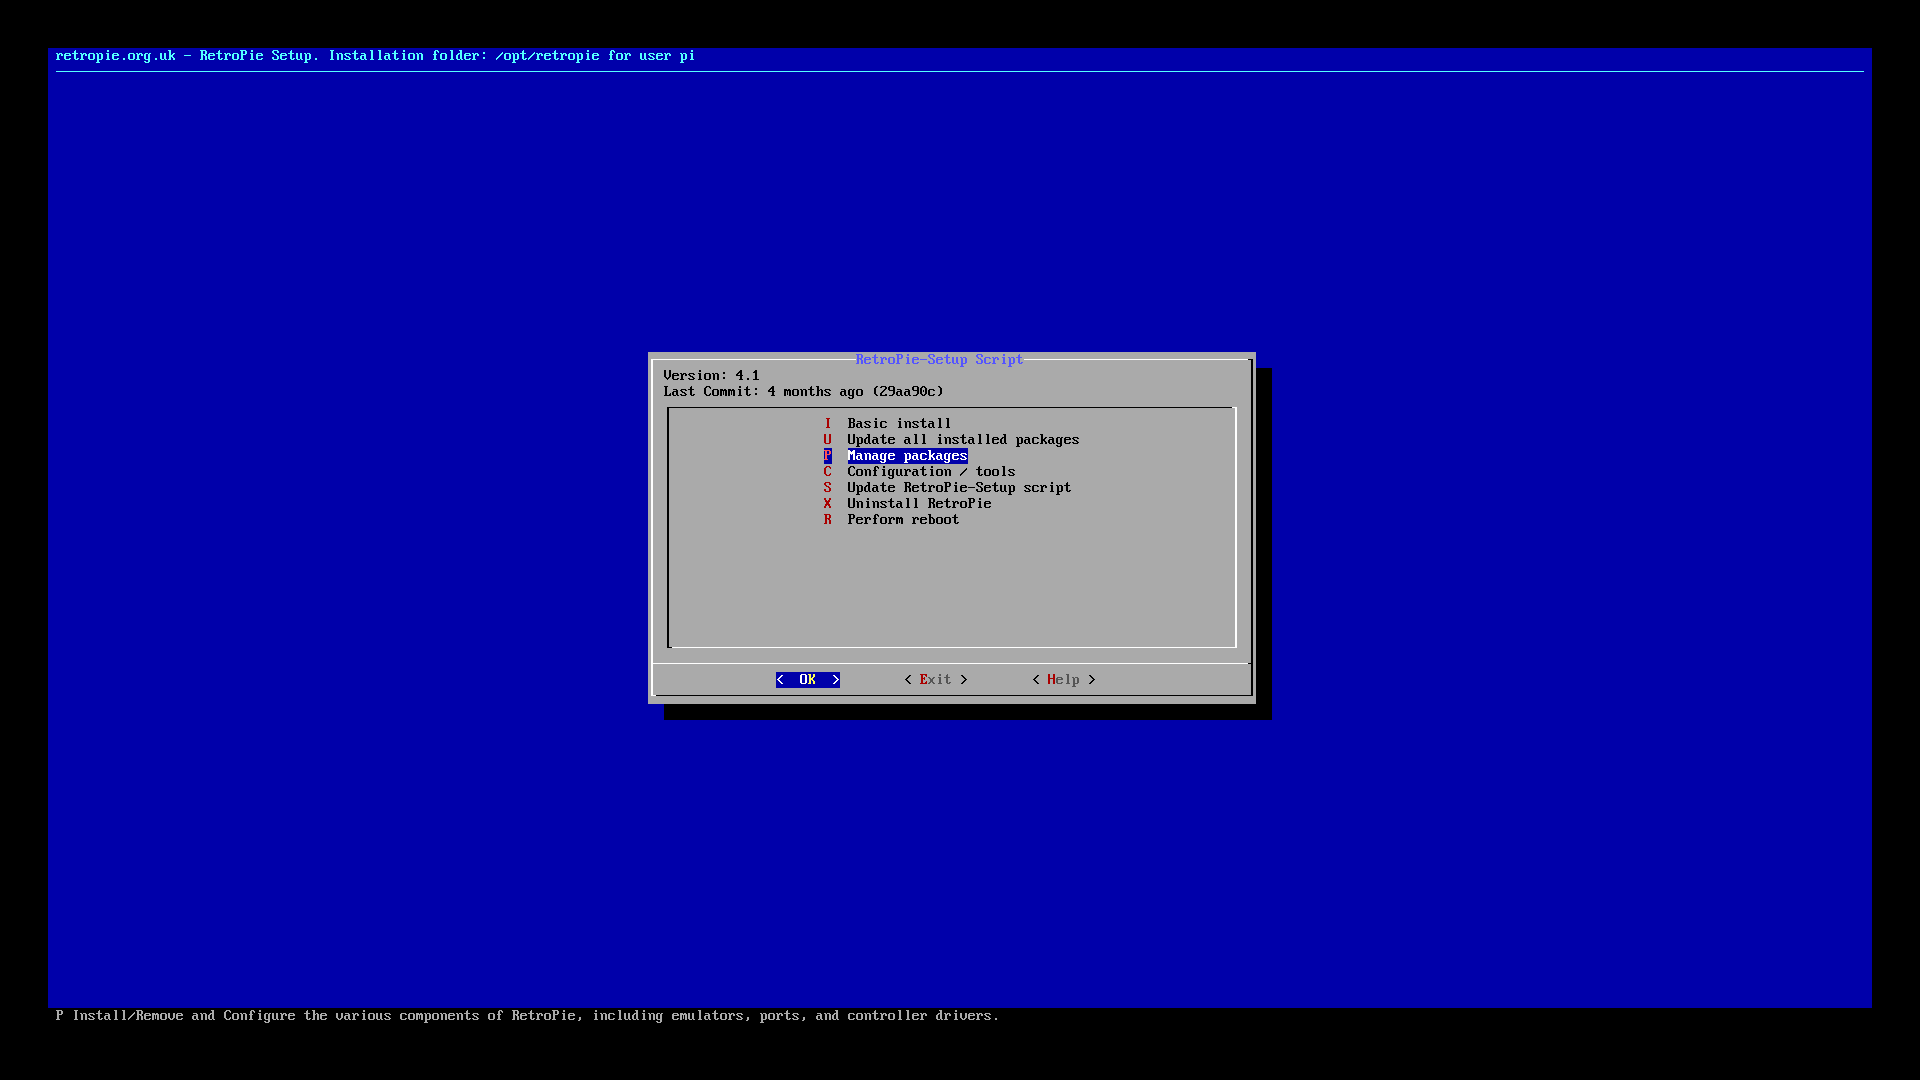
The option you want is “Manage packages.” It’s the third option on the short list in this screenshot. Go ahead and select it. You’ll get another menu on a similar-looking screen, this time listing a few different package-related options.
Step 4: Select “Manage optional packages”
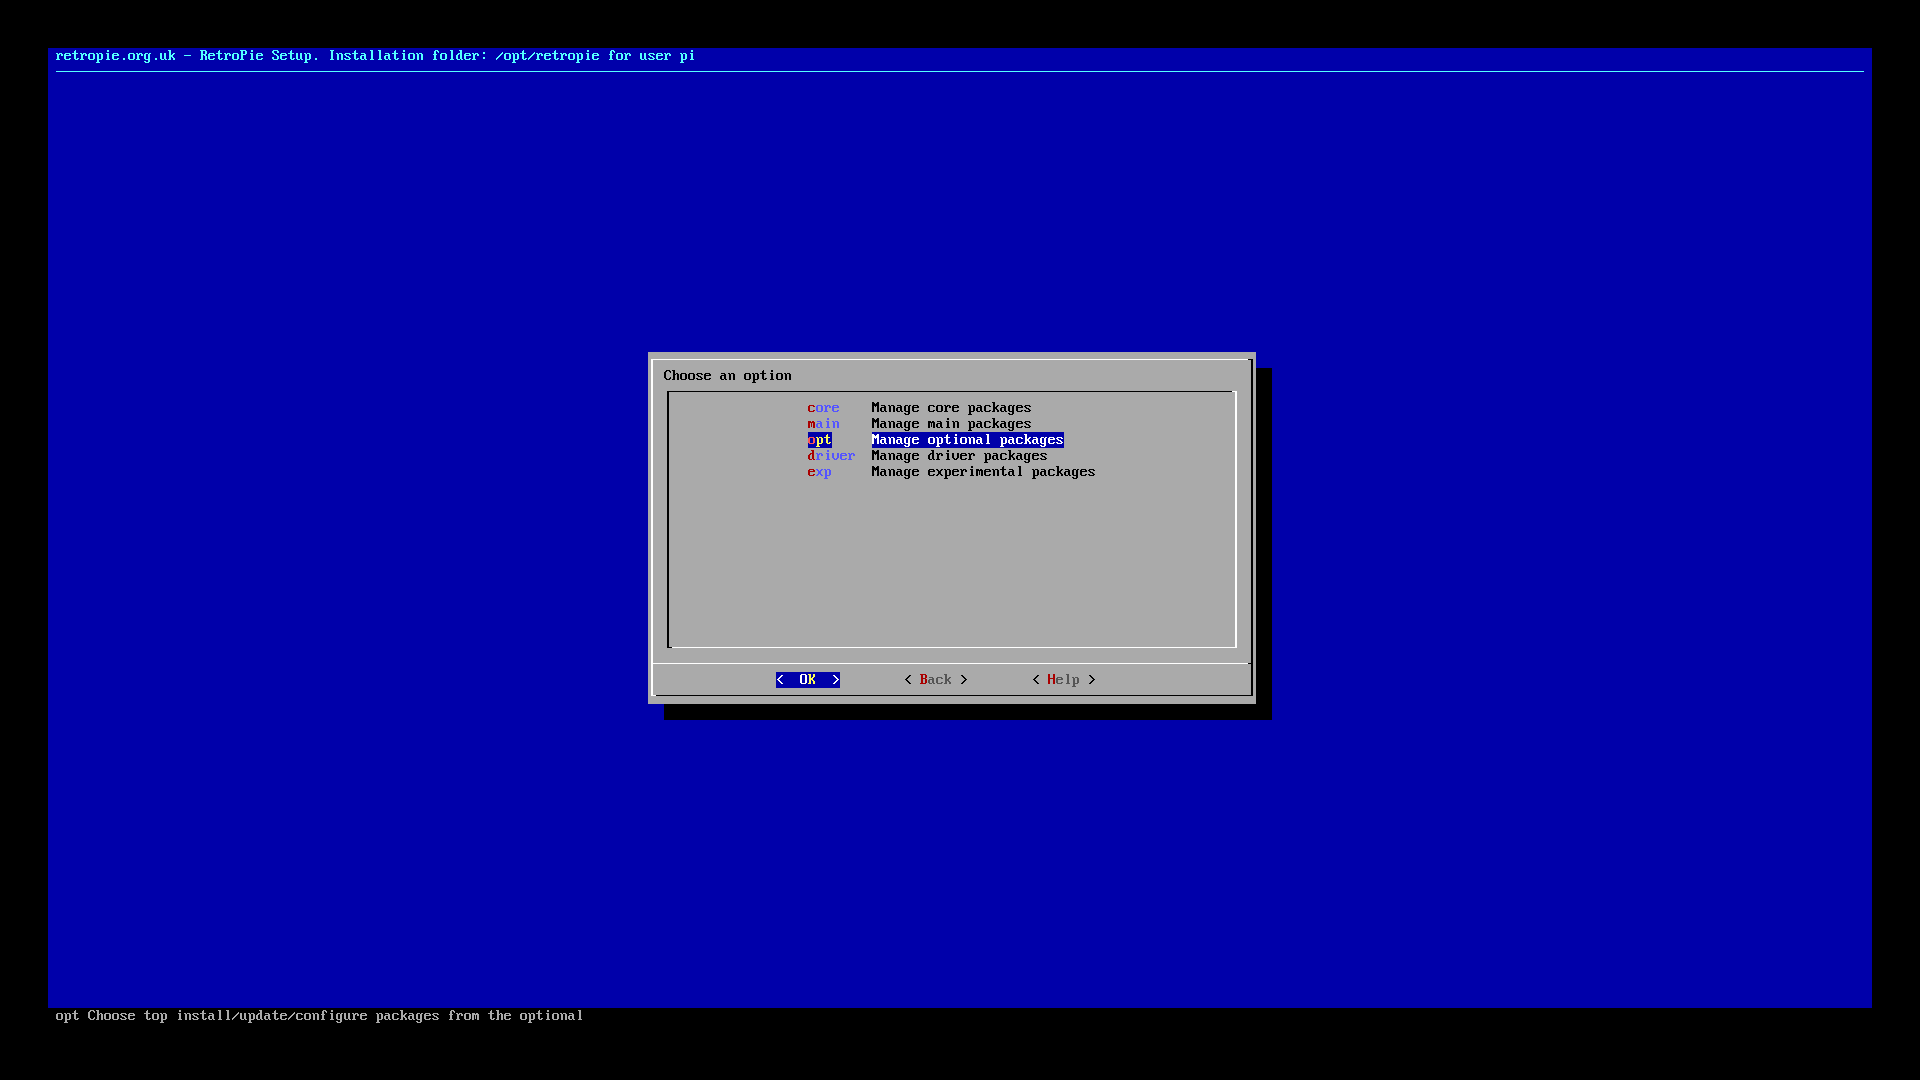
Kodi is optional on RetroPie, so hit “Manage optional packages.” We’re going to get the chance here to choose Kodi and download the optional Kodi package for RetroPie.
Step 5: Select Kodi
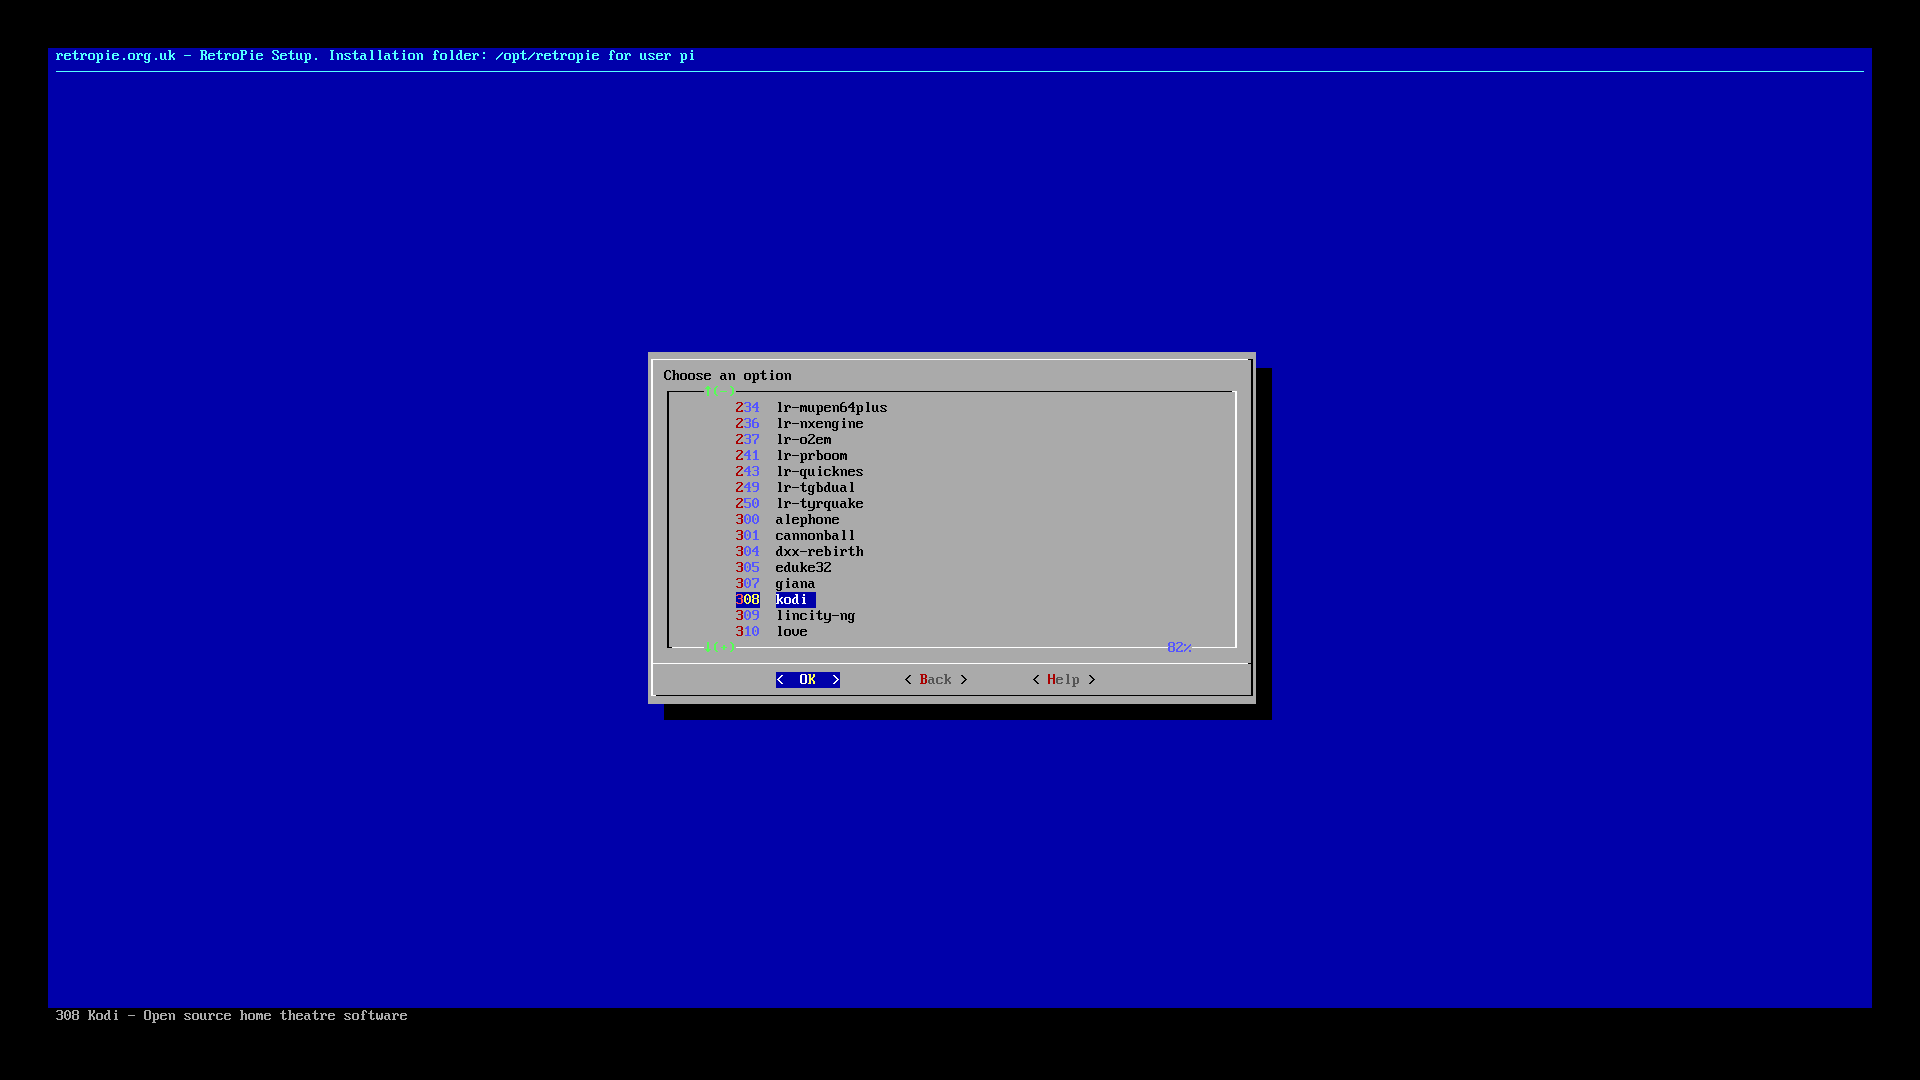
The options are numbered on this screen, and our buddy Kodi is number 308. Scroll on down and select it.
Step 6: Choose “Install from binary”
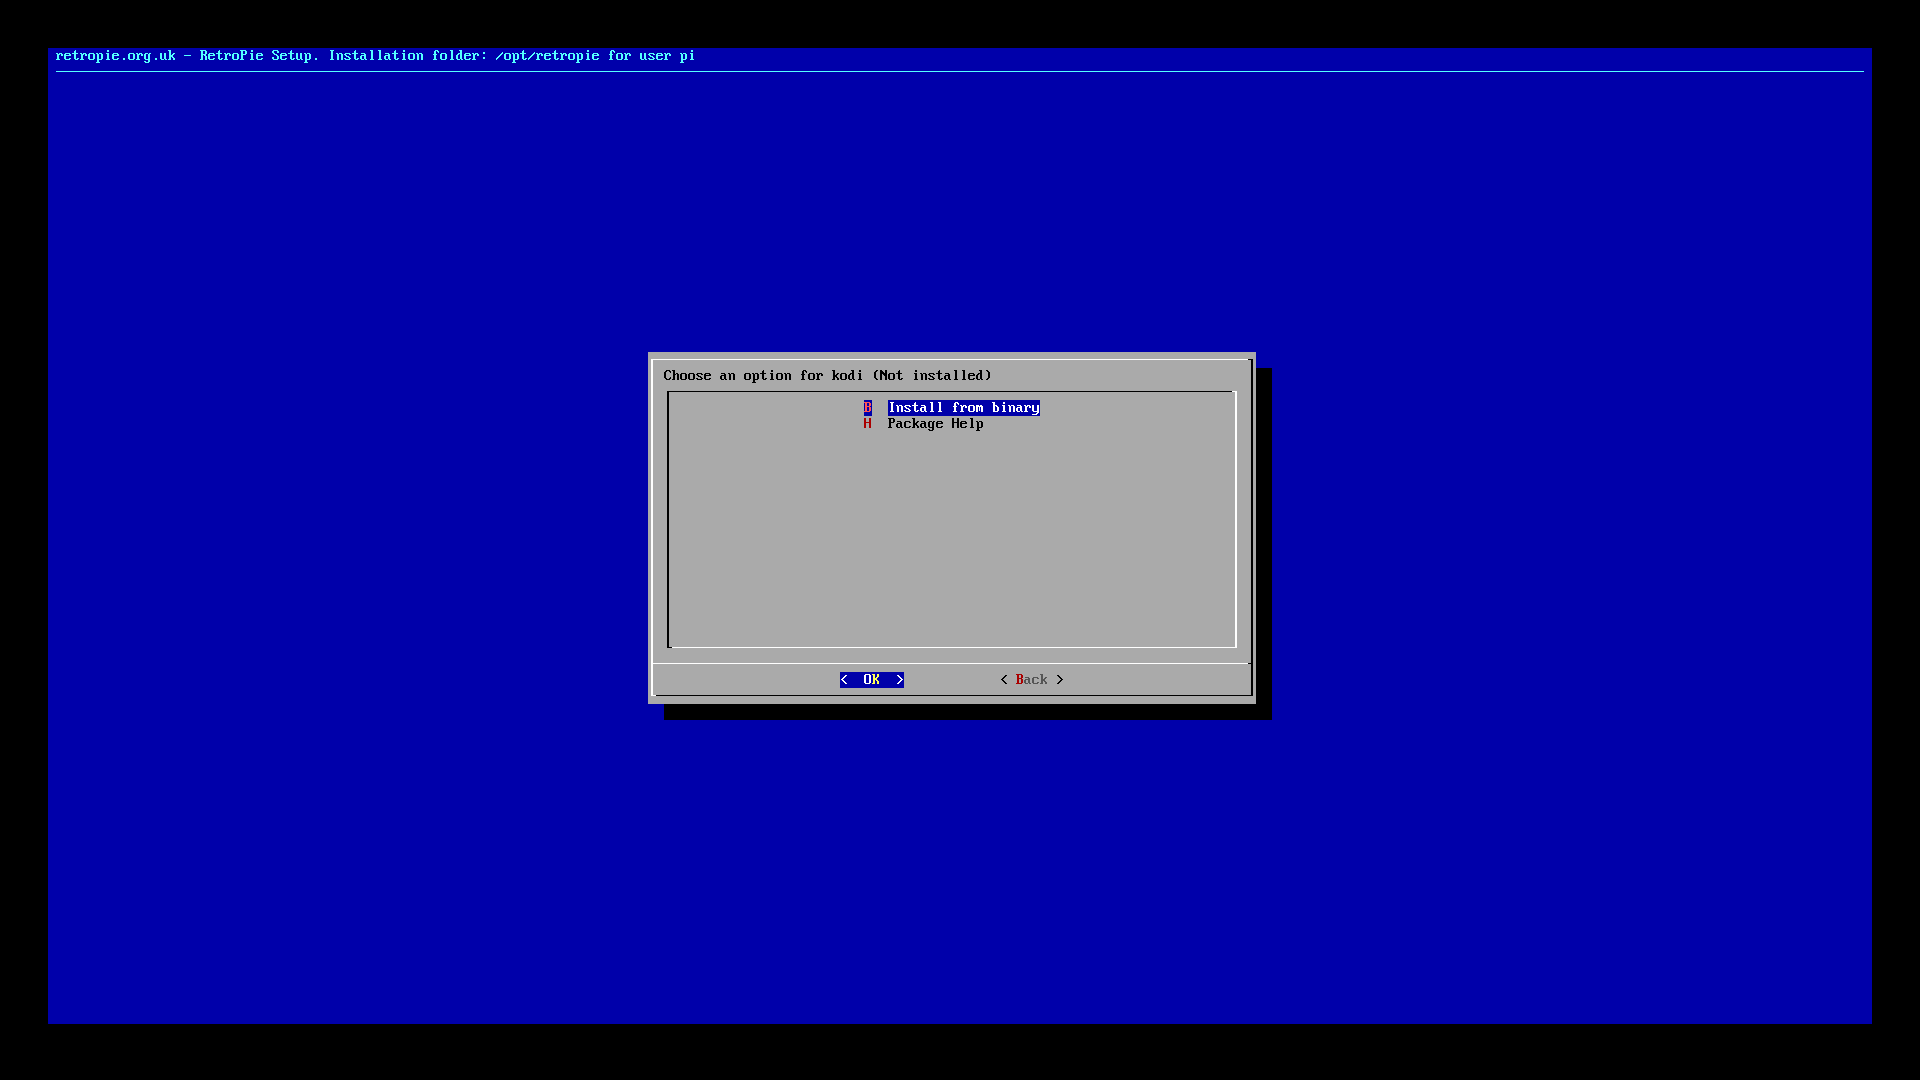
You’ve to two options here – “install” and “help.” You don’t need help knowing how to install Kodi on RetroPie or what Kodi is, of course, because you have our helpful tips right here on The Pi and our sister site Cordcutting.com. What further help could you need? So go ahead and hit “Install from binary.”
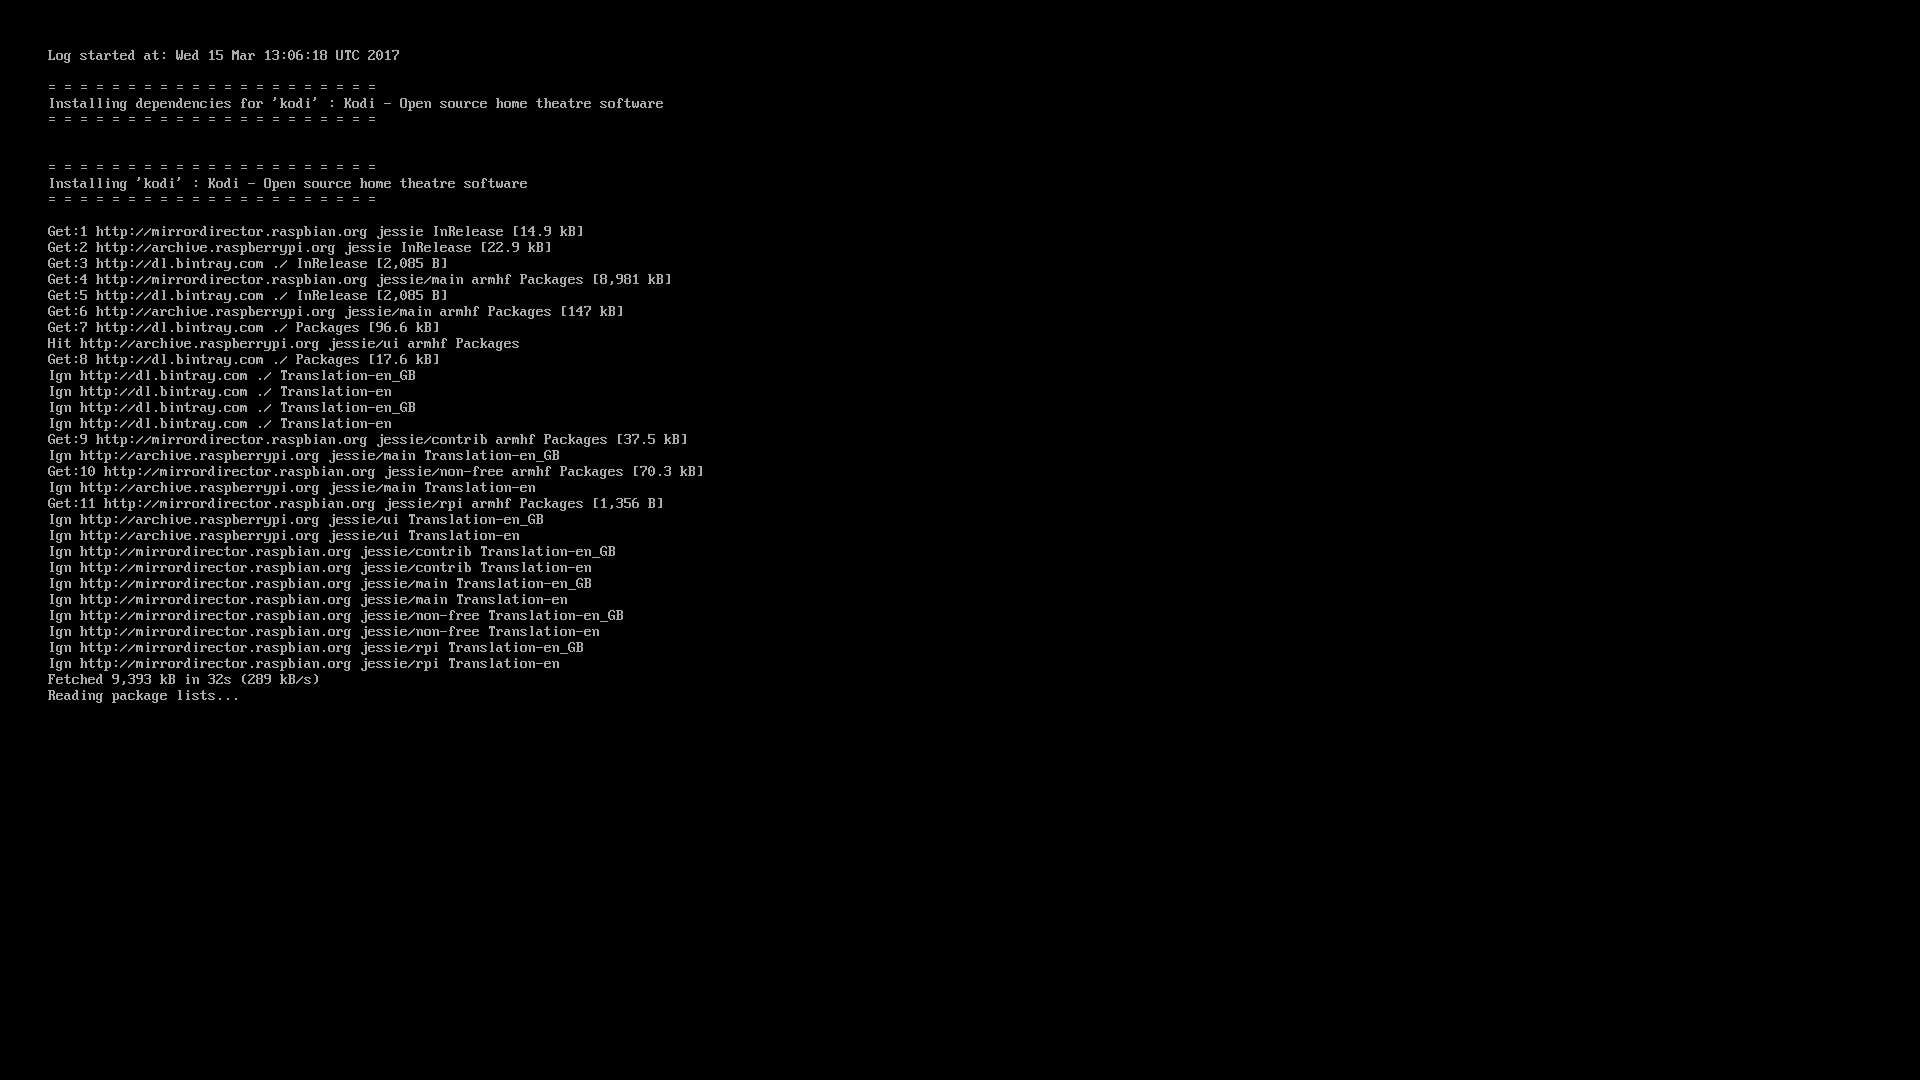
Now you’ll see a bunch of text on your screen. What’s happening here is that your Raspberry Pi is downloading Kodi and installing it. You remembered to make sure you were connected to the internet, right? If you have any problems with this step, check that internet connection again.
Step 7: Restart your RetroPie
Kodi will be available the next time you boot up your system, but not before. So go ahead and restart your RetroPie! You can either choose Main Menu > Quit > Restart Emulation Station, or just flick your power switch or pull the plug.
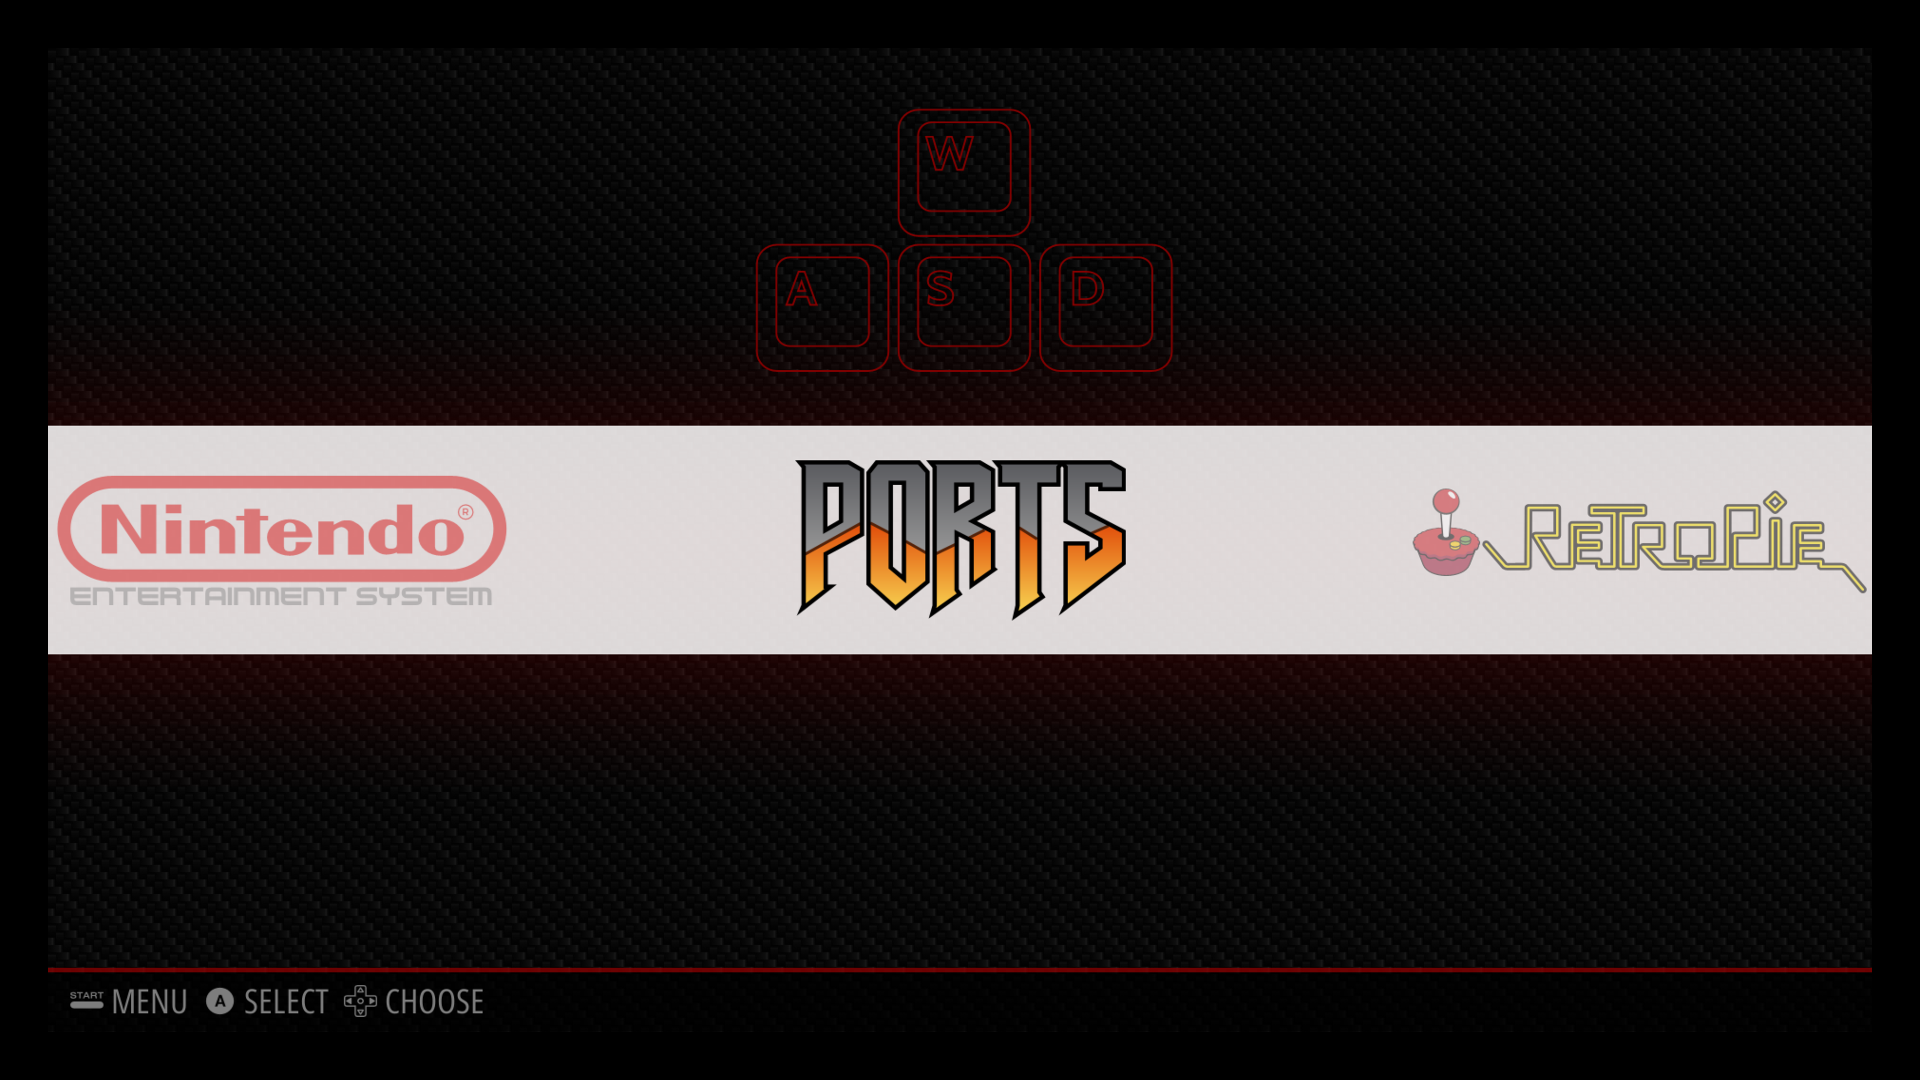
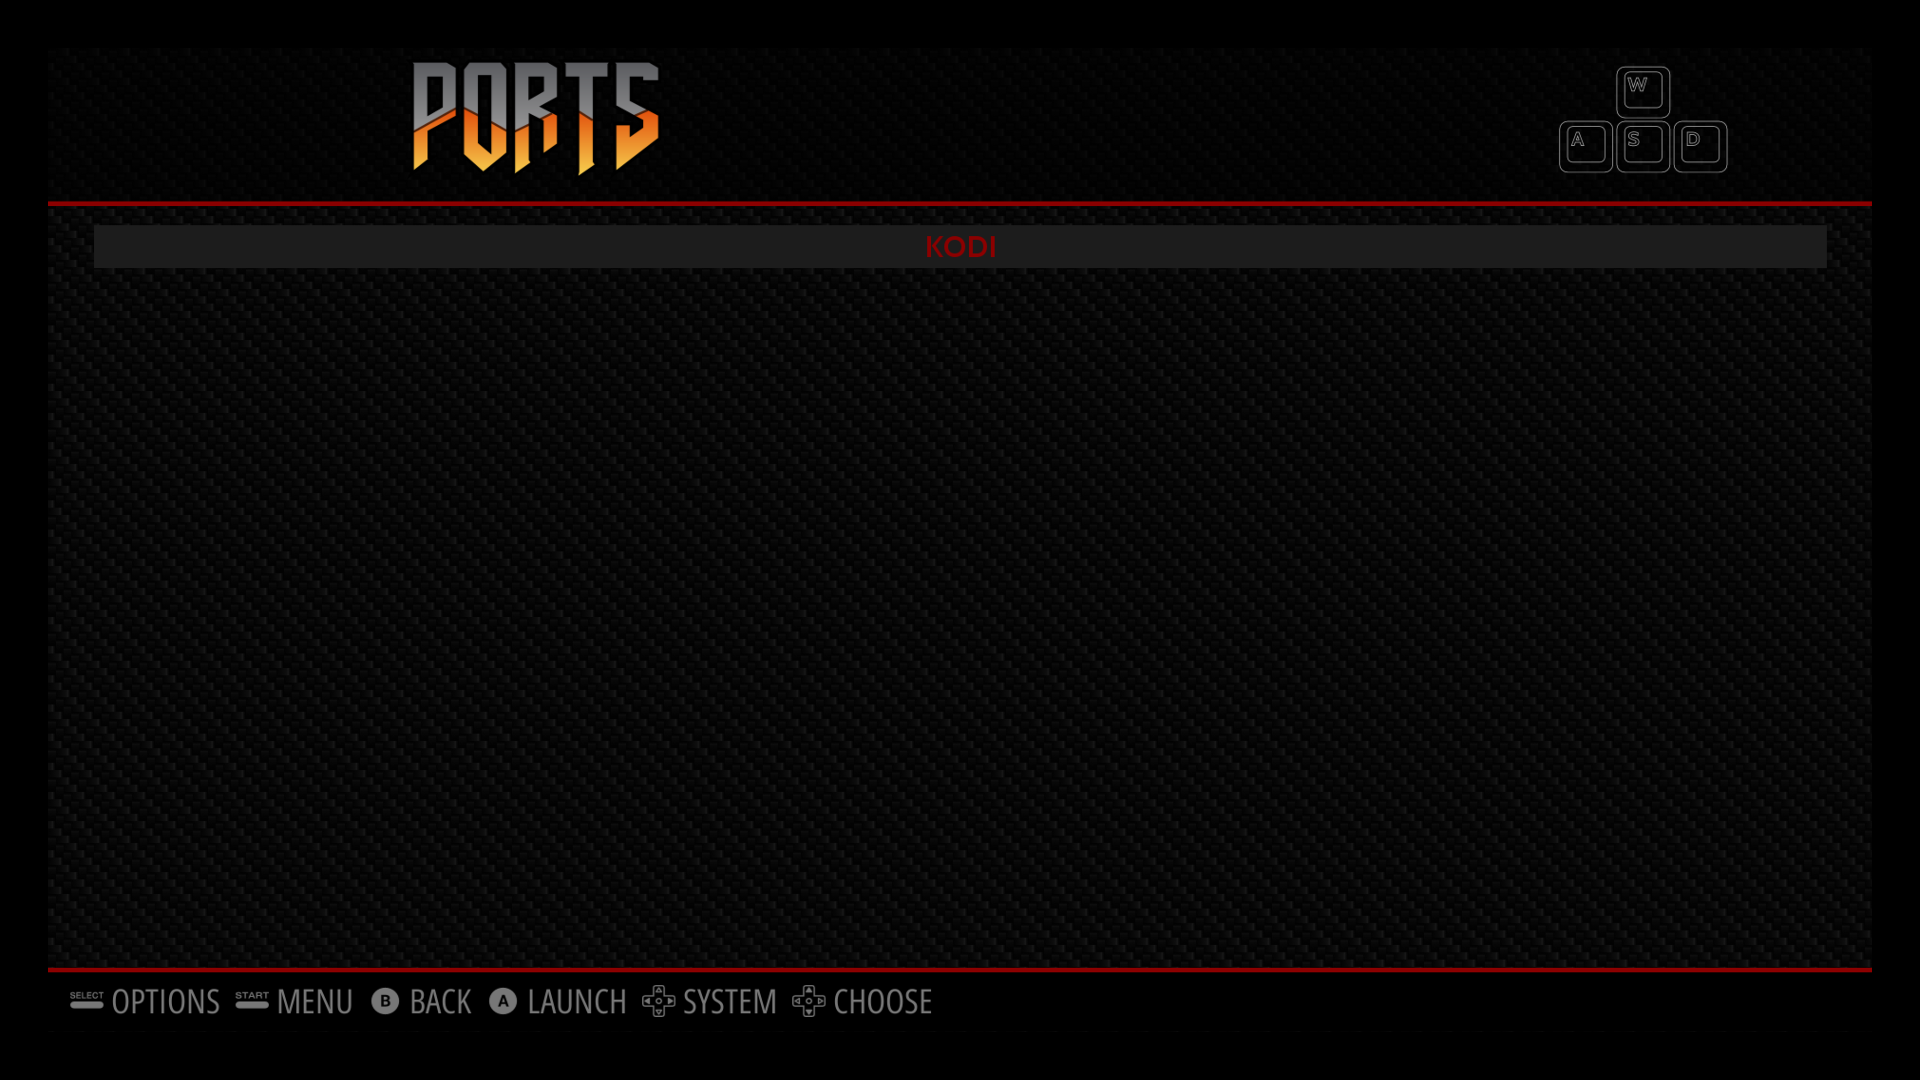
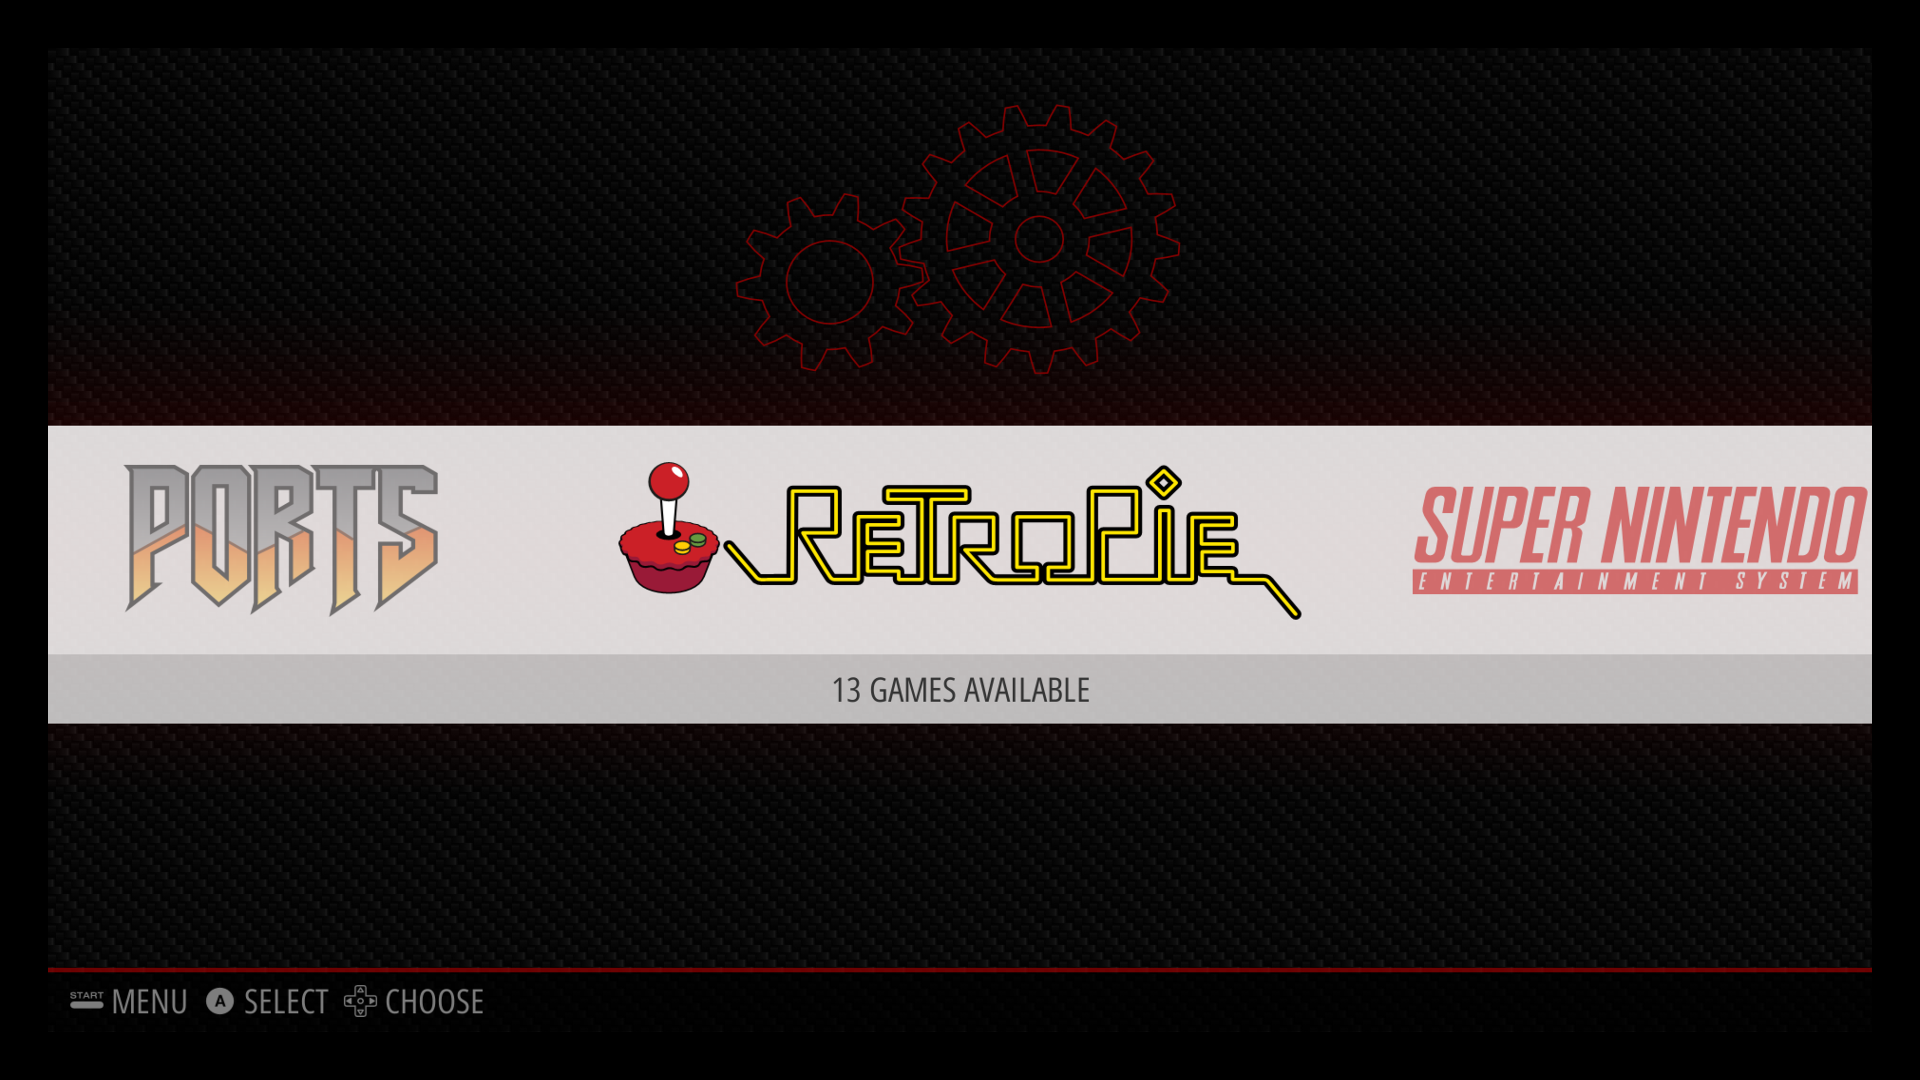
You’ll find Kodi under the “Ports” section of that familiar horizontal menu. We trust it wasn’t too hard to learn how to install Kodi on RetroPie!
Be the first to comment on "How to install Kodi on RetroPie"