Previously, we’ve shown you how to connect remotely to your Raspberry Pi using (S)FTP and SSH. Now, we’re going to show you how to establish a remote desktop access to your Pi using VNC (Virtual Network Computing).
In order to use VNC, we need to have two programs. First, we’ll need VNC Server on the computer we want to control. Then, we’ll need VNC Viewer on the device we want to control from.
Fortunately for us, Raspbian comes pre-loaded with VNC Connect, RealVNC’s remote access software. It consists of VNC Server and VNC Viewer. The only thing we’ll want to do before getting started is make sure that we have the latest version of VNC Connect. To do so, run the following commands in Terminal:
sudo apt-get update
sudo apt-get install realvnc-vnc-server realvnc-vnc-viewer
That’s all the prep we’ll need. Let’s get started!
How to establish remote desktop access to the Raspberry Pi
Step 1: Enable VNC
In our previous guides on how to SSH into the Raspberry Pi and how to set up an FTP server on the Raspberry Pi, the first thing we had to do was to enable SSH. We’ll start in a similar way here: by enabling VNC. As with SSH, enabling VNC can be done two ways: using the GUI (graphic user interface) or using Terminal. We’ll cover both the methods below – you can choose whichever one you’d prefer.
Using the GUI
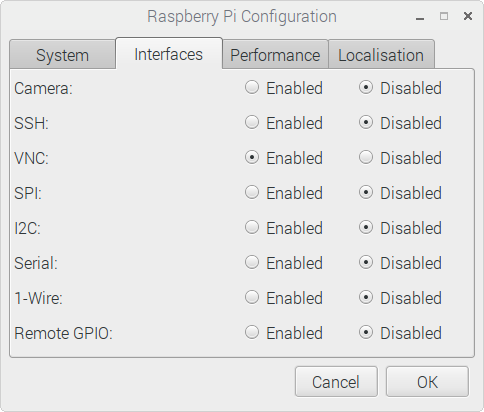
Go to Preferences > Raspberry Pi Configuration and click on “Interfaces.” While there, select “VNC: Enabled.”
Using Terminal
Open Terminal and enter this command:
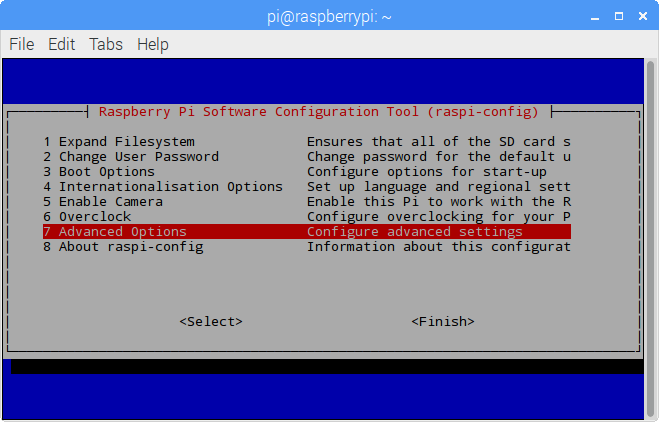
sudo raspi-config
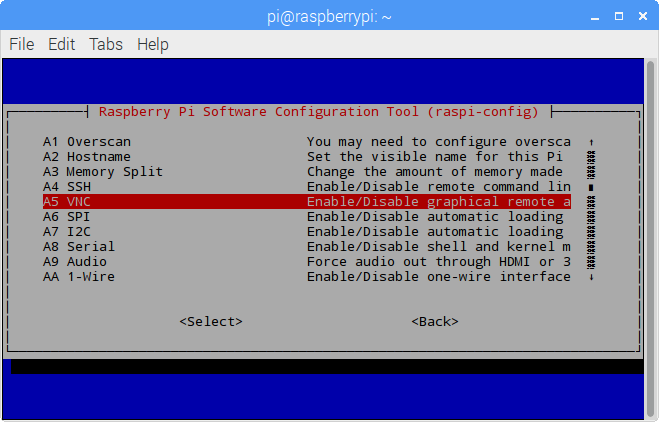
Then go to Advanced Options and select VNC. The config asks you, “Would you like the VNC Server to be enabled?” Select “Yes” and exit the config by choosing “Finish.”
Step 2: Connect to your Raspberry Pi using VNC Viewer
There are two ways to establish remote desktop access to your Raspberry Pi using VNC Viewer: through a direct connection or through a cloud connection. We’ll cover both.
Establishing a direct connection
Direct connections are very straightforward if you’re going to connect to your Raspberry Pi from inside your home network.
- On your Raspberry Pi, run this command in Terminal:
hostname –I
Terminal will kick back your private IP address. You’ll need it later, so write it down!
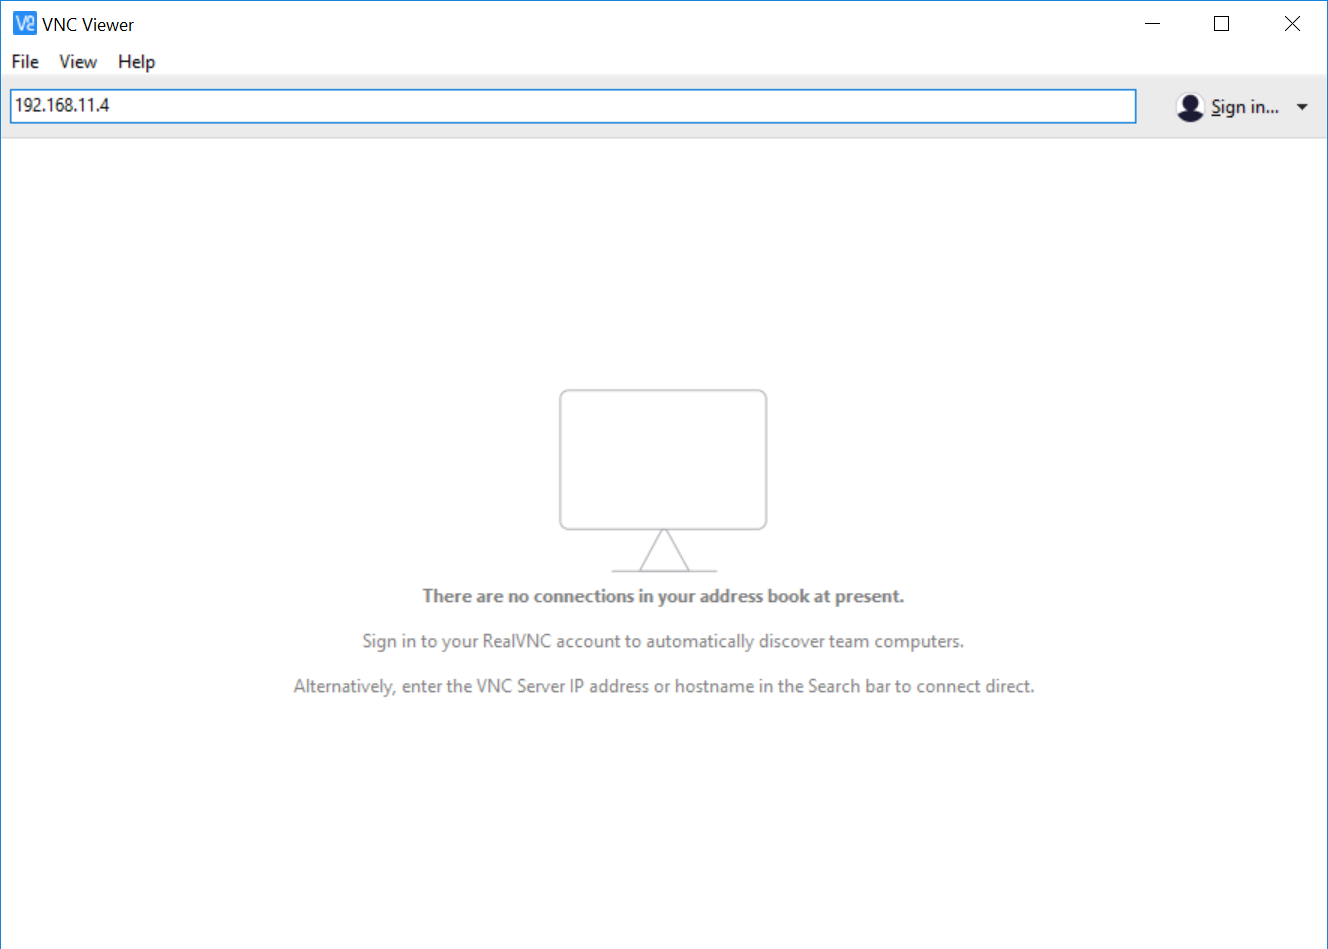
- On the device you’ll use to control your Raspberry Pi, install VNC Viewer. You can download the program from RealVNC’s site.
- Enter your private IP address into VNC Viewer (you wrote it down, right?).
- VNC Server will ask you to authenticate with your Raspberry Pi’s username and password. If you haven’t changed your default credentials, your username will be “pi” and your password will be “raspberry.”
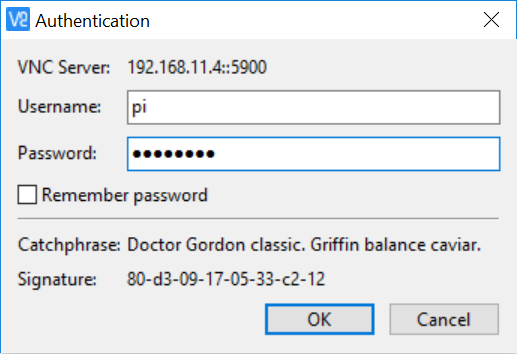
If you’ve done everything right, you should see your Raspberry Pi’s desktop on the device that you’re using.
Establishing a cloud connection
RealVNC, the company behind VNC Server and VNC Viewer, both of which we have used in this article, allows you to register an account to their cloud service and use the service for free (provided that you use it for educational or non-commercial purposes).
A cloud connection is a convenient way to connect to your Raspberry Pi, because cloud connections are secure and don’t require you to configure your router’s port forwarding settings or know your IP address. However, if you are only going to connect to your Raspberry Pi from inside your home network, a direct connection is a more reliable option. When establishing a cloud connection, I often received an error message saying, “VNC Server is not currently listening for Cloud connections.” A direct connection was also noticeably faster than a cloud connection.
This is how you can establish a cloud connection to your Pi:
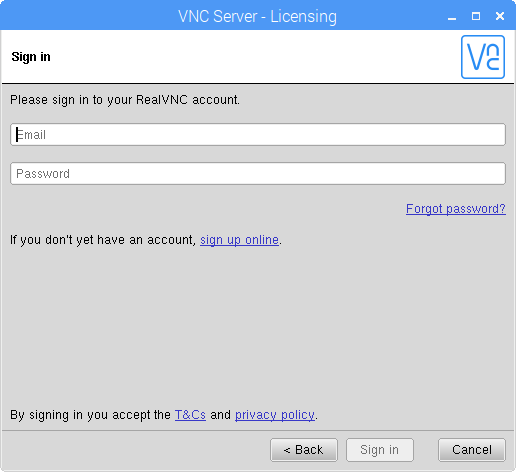
- Sign up for a RealVNC account here.
- On your Raspberry Pi, sign in to VNC Server using your new RealVNC account.
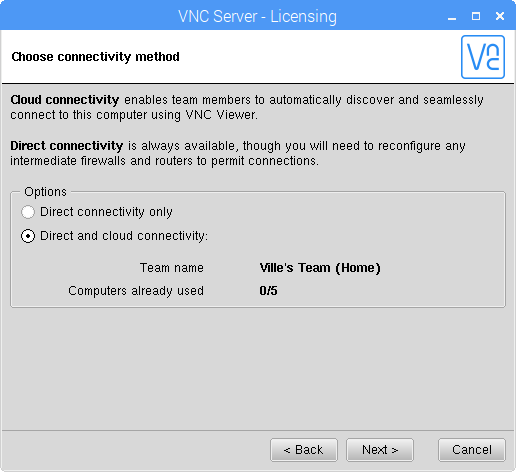
- On the next screen (“Choose connectivity method”), choose “Direct and cloud connectivity.”
- Download and install VNC Viewer on the device you’ll use to control your Raspberry Pi.
- Sign in to VNC Viewer using the same RealVNC account as you did above. Click on the icon for your Raspberry Pi.
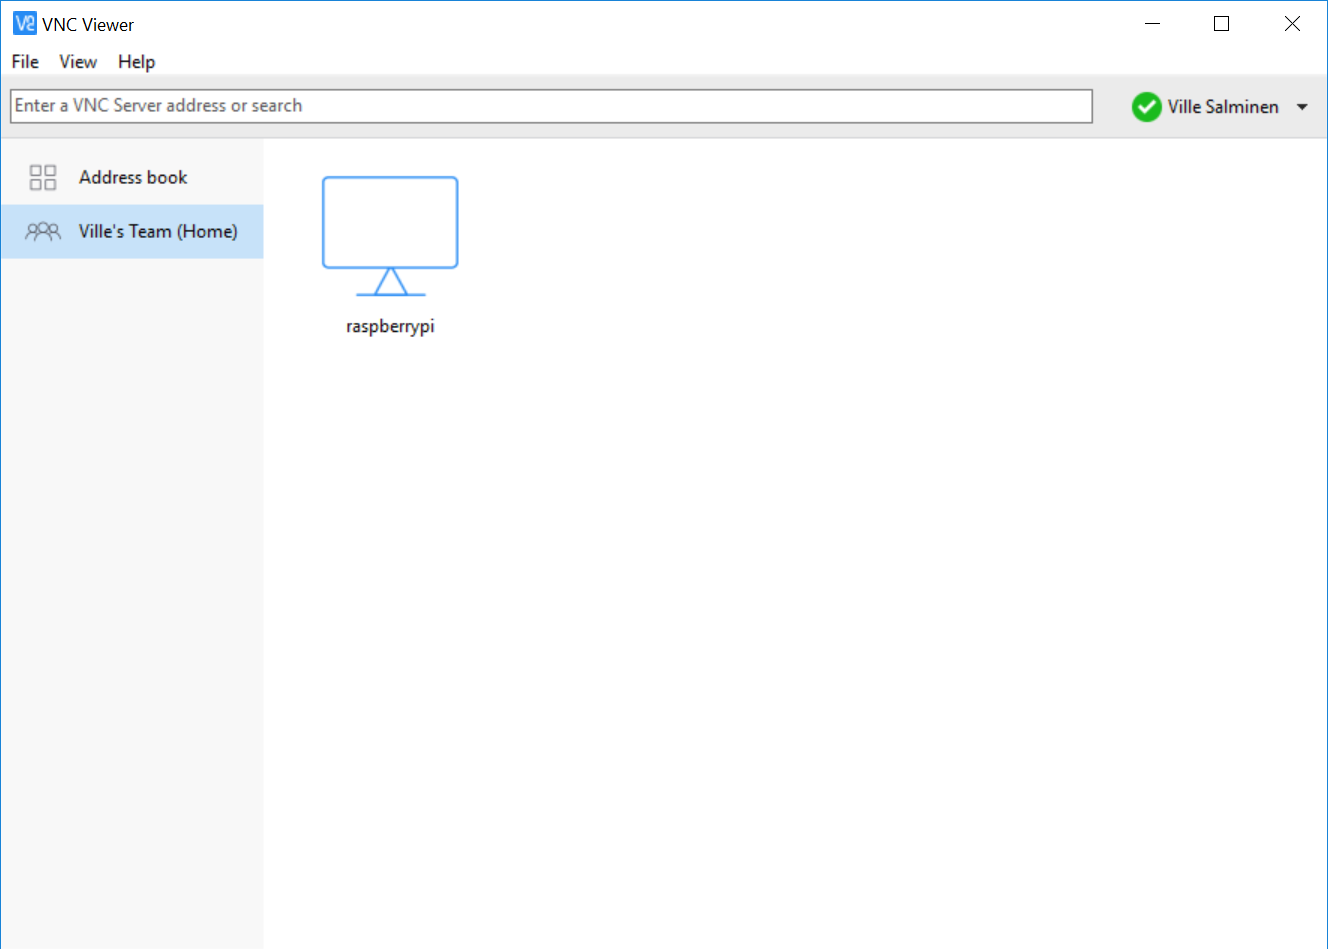
- Just as with the direct connection, VNC Server will ask you to authenticate with your Raspberry Pi’s username and password.
If you did everything right, you should see your Raspberry Pi’s desktop on the device you’re using.
Creating a virtual desktop
If you’re not running the PIXEL desktop, you can still establish remote desktop access to your Raspberry Pi. VNC Server is capable of creating a virtual desktop, giving you the ability to work in a graphical interface from another device. This virtual desktop will exist only in your Raspberry Pi’s memory, so you won’t see mouse movements on your Raspberry Pi’s screen as you could with a direct or cloud connection. The virtual desktop approach is especially useful if you want to launch multiple independent VNC sessions.
You can create and connect to a virtual desktop like this:
- On your Raspberry Pi, run vncserver in Terminal and write down the IP address and the display number that the program prints (it’s “192.168.11.4:2” in our screenshot).

- On the device you’ll use to control your Raspberry Pi, enter the IP address and the port into VNC Viewer.
- As was the case with establishing a direct connection and a cloud connection, VNC Server will ask you to authenticate with your Raspberry Pi’s username and password.
You can destroy a virtual desktop with this command:
vncserver -kill :<display-number>
VNC Viewer is terrible, and because it comes default in the software, xrdp on the Pi and Microsofts RDP on my computer no longer work. I’ve tried removing VNC Viewer and its dependencies to try and install xrdp and whatever that needs again, but it won’t work.
I get that VNC Viewer is a much more user friendly way to connect remotely, but the quality is nowhere near as good.